If you’re using a Dell XPS desktop, you already know how crucial the keyboard is for a seamless computing experience. But as we use our keyboards daily, keeping them clean and free from dust and debris is essential. So here are some simple steps to follow when cleaning your Dell keyboard for your XPS desktop.
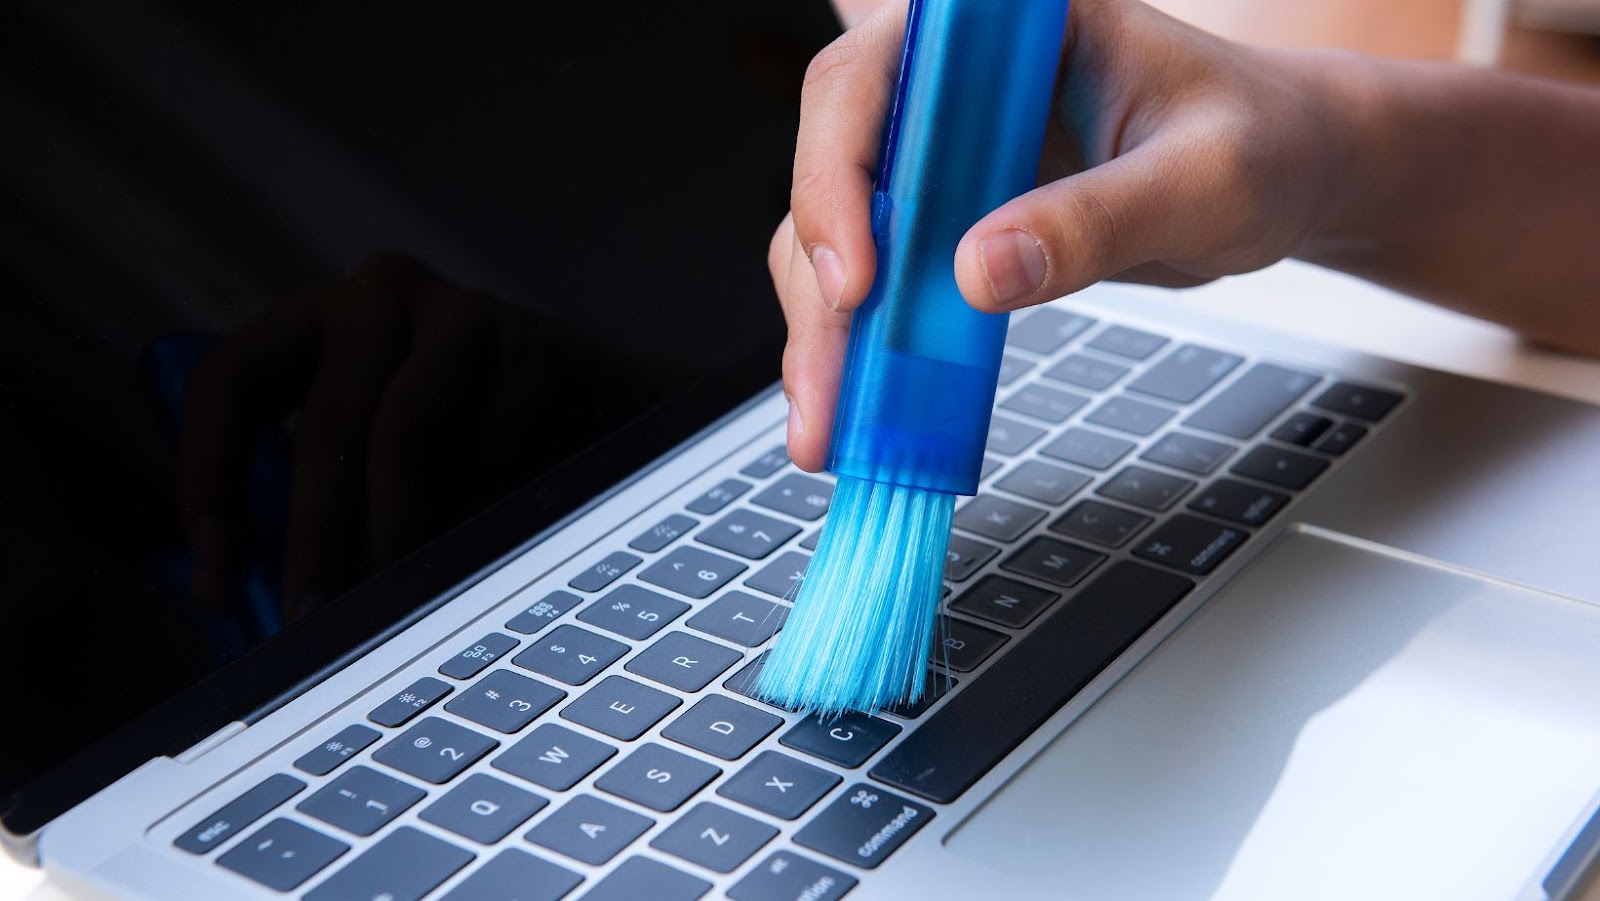
Before starting, turn off your computer and unplug your keyboard from the desktop. You don’t want electricity running through your keyboard while you clean it. You can then use compressed air to blow out any foreign matter stuck in between the keys. Use gentle, successive bursts of air to ensure the dust doesn’t settle elsewhere on the keyboard or your desktop.
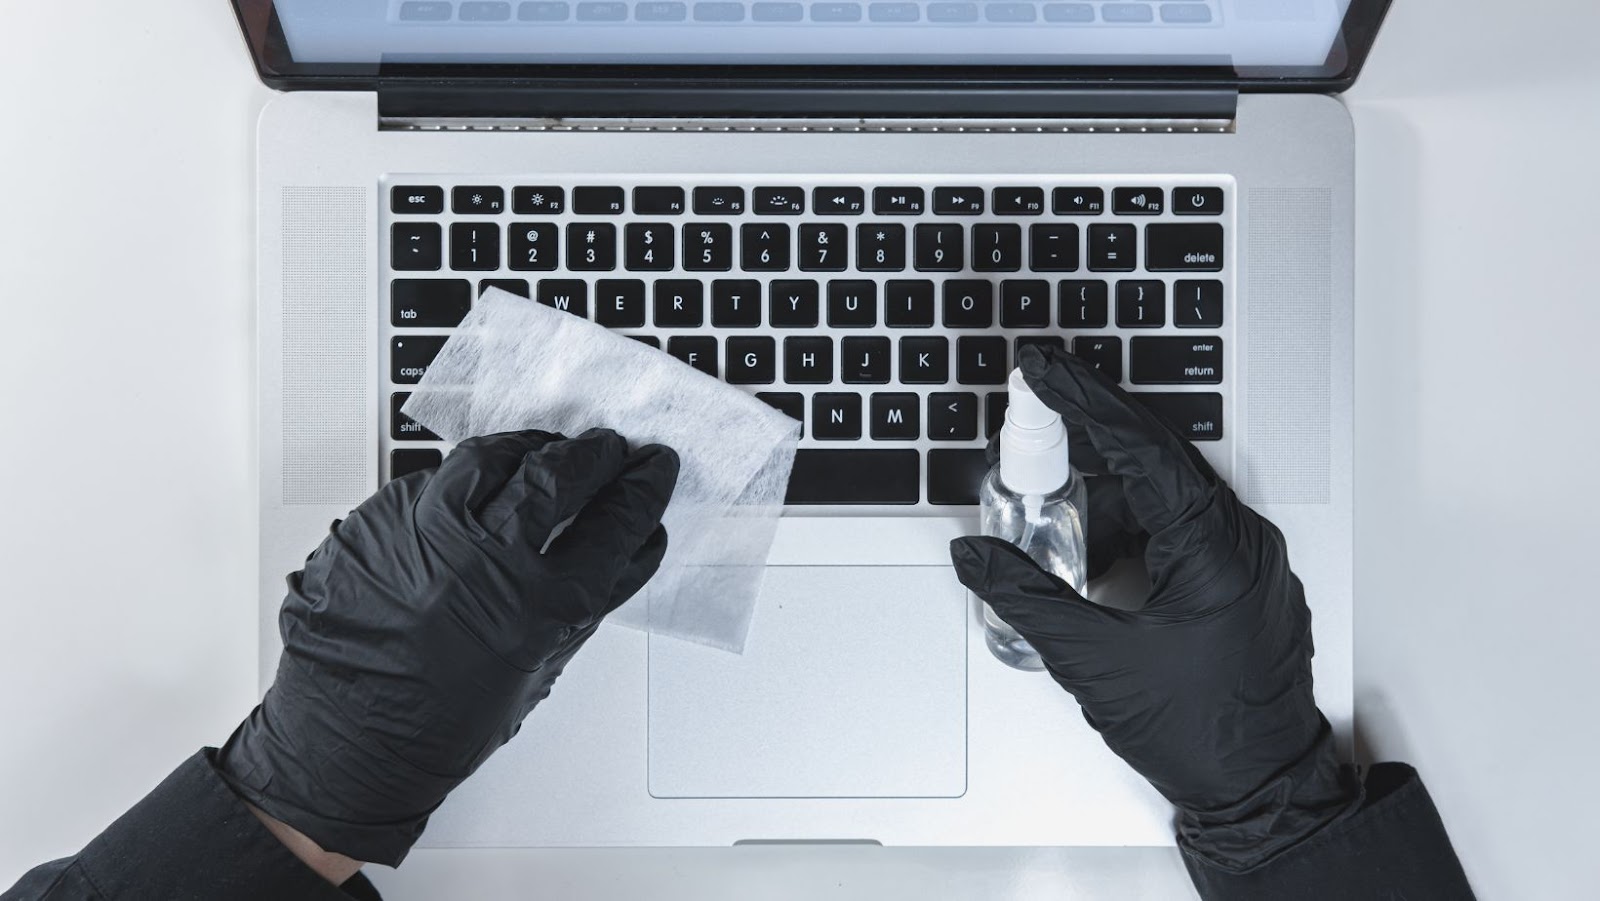
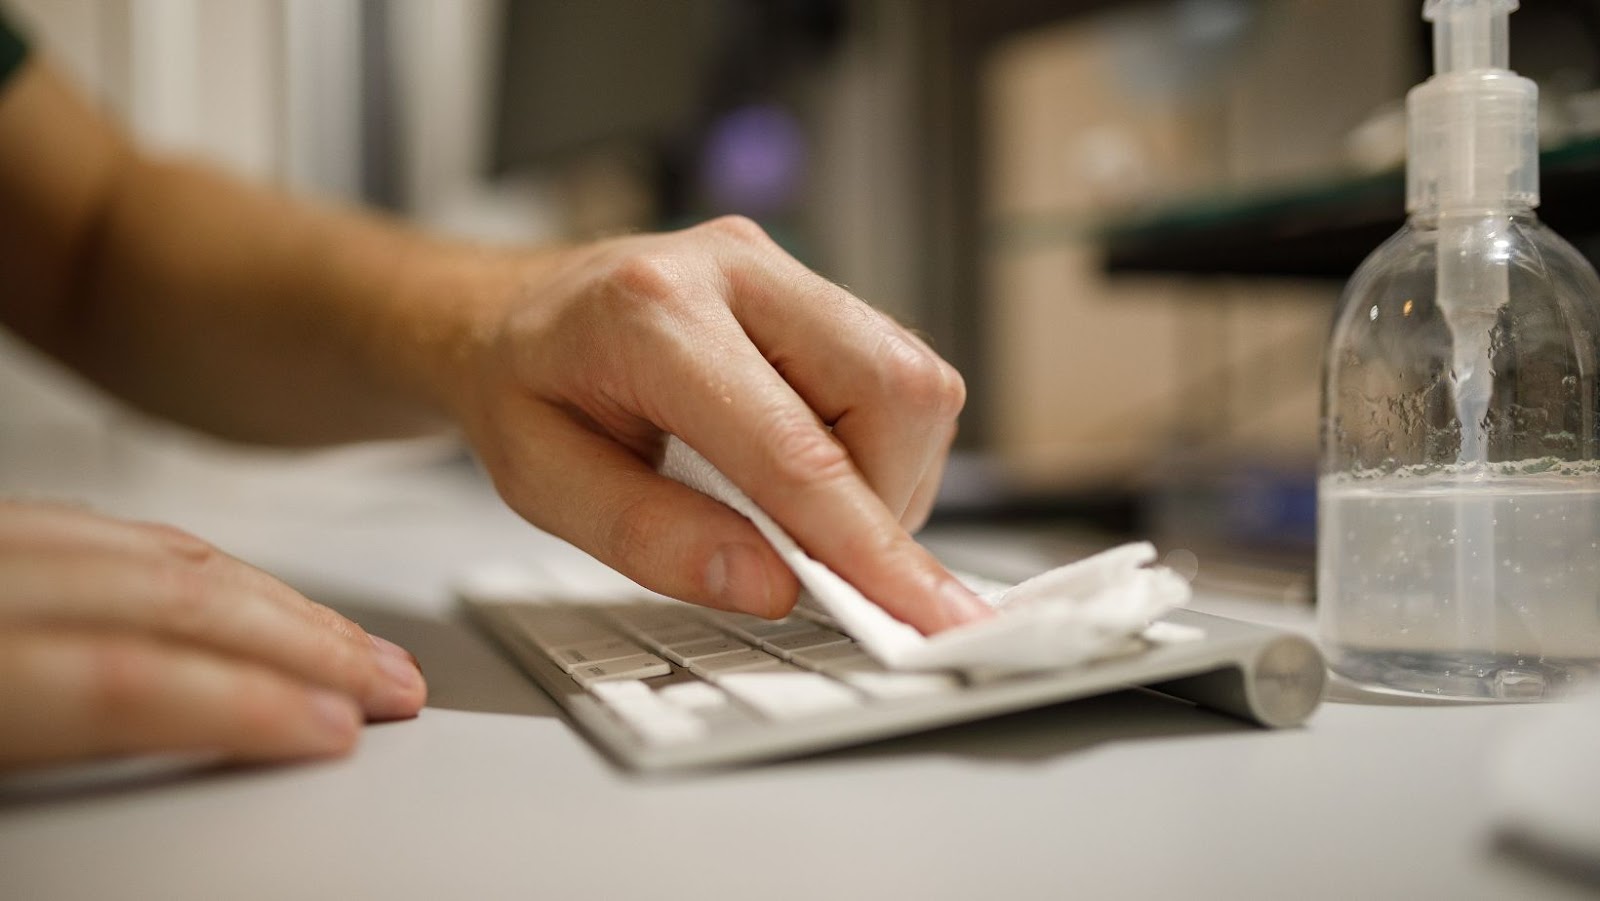
Next, you can gently wipe down the keyboard’s surface with a microfiber cloth or a damp paper towel. Then, for a deeper clean or sticky residue or streaks, dip a cotton swab in rubbing alcohol and gently scrub those areas. Finally, dry the keyboard thoroughly and let it air dry for a few minutes before reconnecting it to your computer. Following these straightforward steps, you can keep your Dell keyboard for your XPS desktop clean and functioning at its best.
Preparing For Cleaning
Cleaning a Dell keyboard for an XPS desktop is relatively straightforward. However, before you start cleaning, there are several steps you need to take to prepare to avoid any damage to your keyboard or computer. In this section, I’ll take you through the steps you need to follow to prepare for cleaning your Dell keyboard for XPS desktop.
Step 1: Turn Off Your XPS Desktop
The first thing you need to do before you start cleaning your Dell keyboard is to turn off your XPS desktop. Cleaning a keyboard while your computer is still on may lead to electric shock or damage to your system. So to be safe, always turn off your computer before cleaning the keyboard.
Step 2: Disconnect The Keyboard From Your XPS Desktop
The next step is to disconnect the keyboard from your XPS desktop. To do this, simply unplug the USB cable from your computer. If your keyboard is wireless, turn it off or remove the batteries.
Step 3: Remove The Keycaps
Removing the keycaps will make it easy to clean the keyboard thoroughly. You can do this by gently prying off the keycaps with a flat object like a small flathead screwdriver or a plastic card. Be careful not to damage the keycaps or the keyboard.
Step 4: Clean The Key Caps
Using a soft brush or compressed air can remove the dust, debris, and food particles that may have accumulated between the keycaps. You can also use a damp cloth to wipe the keycaps gently. Avoid harsh chemicals or abrasive materials that may damage the key caps’ surface.
Step 5: Clean The Keyboard
Now that you’ve removed the keycaps, it’s time to clean the keyboard thoroughly. You can use a soft cloth or a brush to remove dust and debris from the keyboard. You can also use a damp cloth to wipe the keyboard gently. Be careful not to spill any liquid on the keyboard, which may damage the keys or the internal components.
Step 6: Reassemble The Key Caps
Once you’ve cleaned the keyboard and the keycaps, it’s time to reassemble them. Gently press each key cap onto the keyboard until you hear a click. Make sure that each keycap is correctly aligned and in its proper position.
In the next section, I’ll discuss the cleaning process and the materials needed to get started.
How To Clean Dell Keyboard For XPS Desktop
Cleaning your Dell XPS desktop keyboard might seem daunting, but with the right approach, it is easier than you think. In this section, I will guide you through the steps to clean your Dell keyboard and get it looking as good as new.
Before you start, you will need a few items:
- Microfiber cloth
- Compressed air can
- Rubbing alcohol
- Cotton swabs
Now that you have all the necessary items let’s begin the cleaning process!
- Start by turning off your Dell XPS desktop.
- Gently shake the keyboard upside down over a trash can to remove any loose debris or dust.
- Use the compressed air can to blow out any remaining debris between the keys. Hold it at a distance of 2-3 inches from the keyboard to avoid damage.
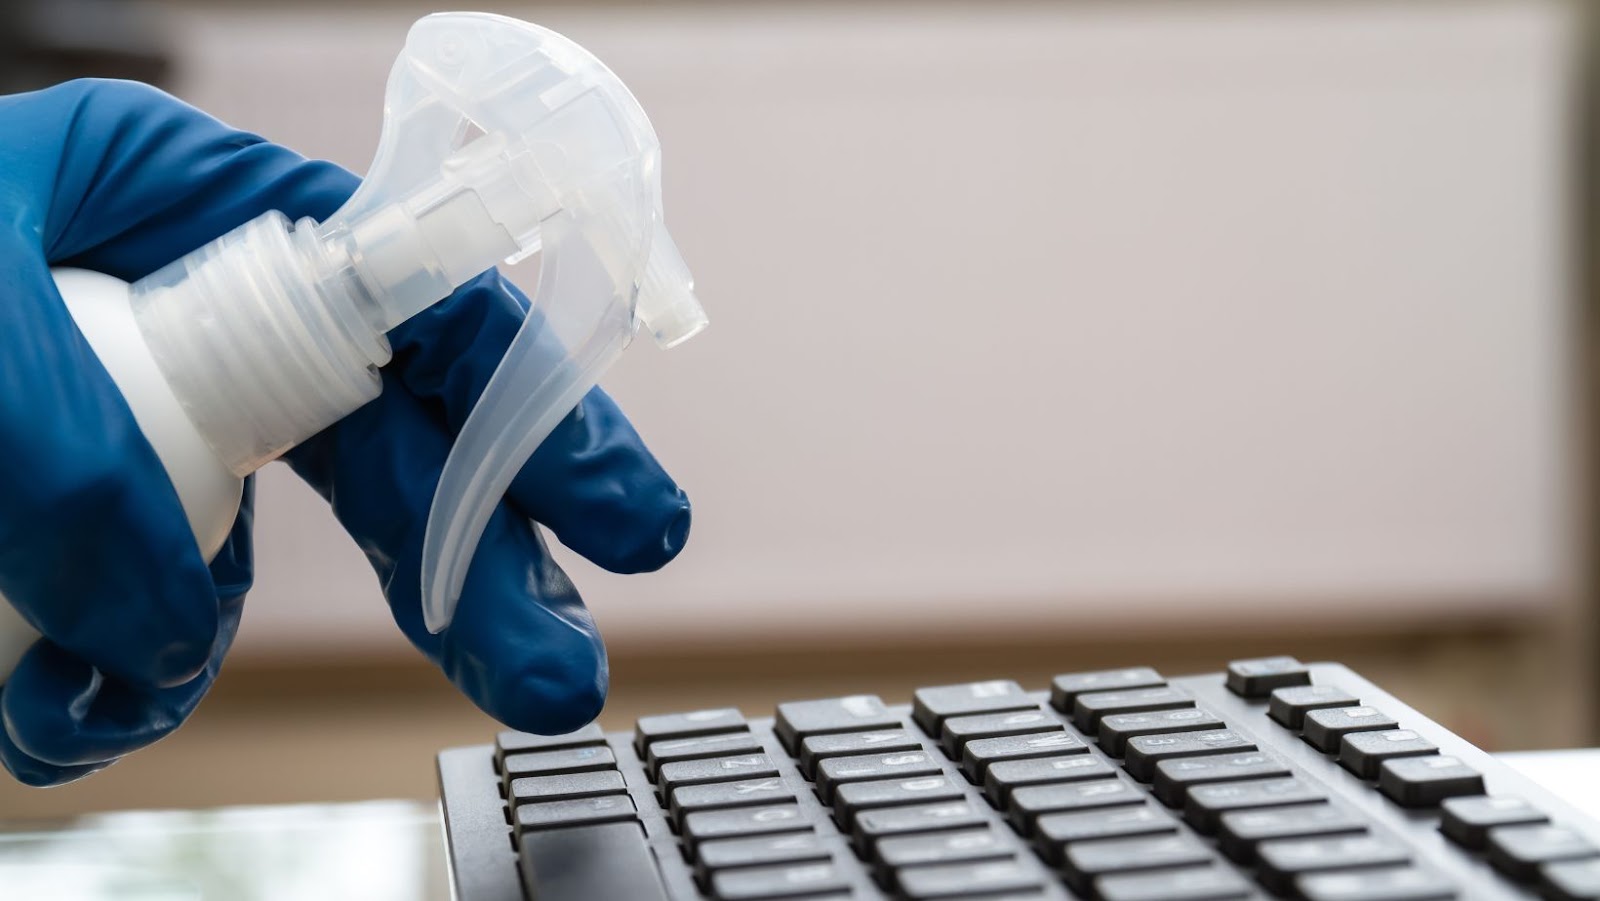
- Moisten a microfiber cloth with rubbing alcohol and wring it out to remove excess moisture.
- Wipe down the keys and surface of the keyboard gently with the cloth. Do not apply too much pressure, as this can damage the keys.
- Use cotton swabs dipped in rubbing alcohol to clean any dirt or grime from the edges of the keys and hard-to-reach areas.
- Allow the keyboard to air dry for a few minutes before turning it back on.
It’s important to note that you should avoid using harsh chemicals or abrasive tools when cleaning your Dell keyboard, as this can damage the device. Also, use only a small amount of rubbing alcohol, as too much can damage the keyboard’s finish.
Following these simple steps, you can keep your Dell XPS desktop keyboard in tip-top shape and extend its lifespan. Happy cleaning!
Drying and Reassembling the Keyboard:
Now that we have successfully cleaned our Dell keyboard for XPS desktop, we need to dry and reassemble it properly to ensure it functions optimally. Here’s how:
- Shake off excess moisture: Give your keyboard a good shake to eliminate excess water. You can also use a lint-free cloth or paper towel to absorb any remaining water droplets.
- Leave the keyboard to dry: Let your keyboard air dry for at least 24 hours. You can keep it in a warm, dry place to speed up the drying process, but do not use heat sources like a hairdryer, which can damage the keyboard.
- Reassemble the keyboard: Once your Dell keyboard for XPS desktop is completely dry, reassemble it by attaching the keys back onto it. Make sure each key is properly aligned before pressing it into place.
- Test the keyboard: Finally, test your keyboard to ensure all the keys work correctly. You can also use a keyboard testing tool to verify that your keyboard is functioning optimally.
Following these steps will help you properly dry and reassemble your Dell keyboard for XPS desktop after cleaning it thoroughly, ensuring it functions perfectly for years.