When it comes to setting up window boxes, the choice of mounting brackets is crucial, not just for the installation’s structural safety but also for your home’s overall aesthetics. These brackets play a dual role—they ensure that your beautiful window displays are securely attached to the building, preventing any potential accidents or damage, and they also contribute to the visual appeal of your exterior décor. Choosing the right mounting brackets combines these functional and aesthetic considerations, turning a simple window box into a safe and stylish feature of your home’s façade. In this article, we’ll explore how the right brackets can make a significant difference in the security and the appearance of your window boxes.
Understanding Different Types of Mounting Brackets
Mounting brackets come in various shapes and forms, each designed to offer optimal support and style for your window boxes. Key types include L-brackets, T-brackets, and U-brackets, each with specific applications that enhance functionality and aesthetic appeal.
L-brackets are perhaps the most common mounting bracket used for window boxes. They provide a strong right-angle support that is less visible from the front, making them an excellent choice for those who prefer a cleaner look. These brackets are typically made from heavy-duty materials like steel or iron, ensuring a secure hold even for heavier window boxes filled with soil and plants.
T-brackets offer added stability and are often used when more support is needed across a broader area. This type of bracket features a top bar that extends horizontally across the window box’s back, providing additional anchoring points. This makes T-brackets ideal for larger window boxes or where the facade material requires a more even weight distribution.
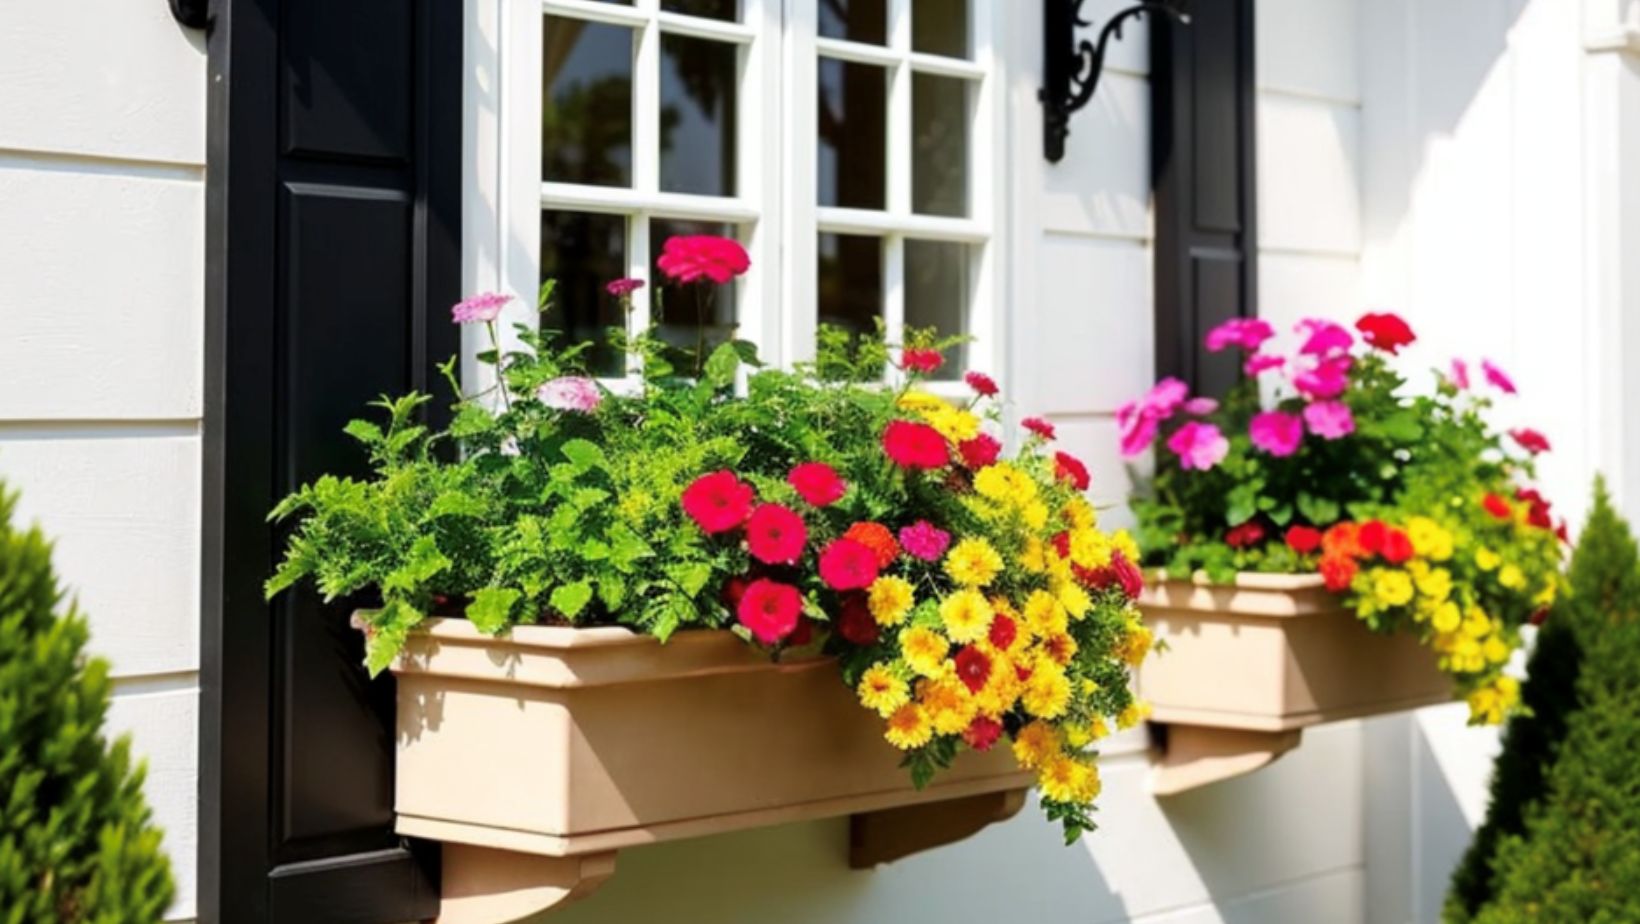
U-brackets are designed to encase the window box, offering support from underneath and on the sides. This encasing method is supportive and integrates the bracket as part of the box’s visual design, often making it a focal point. For those interested in exploring a variety of options, it’s useful to look into different mounting brackets for window boxes that cater to specific needs and preferences, ensuring both security and style are achieved.
Regarding materials, the choice between metal and plastic brackets is significant. Metal brackets, such as those made from aluminum, wrought iron, or stainless steel, are renowned for their strength and durability. They can also be ornately designed, adding a decorative touch while offering excellent longevity and resistance to weather conditions. Plastic brackets, while generally more cost-effective and resistant to rust, often lack the same level of durability and may not be suitable for heavier loads or long-term use without maintenance.
Choosing the right type of bracket involves considering the window box’s weight, the home’s exterior style, and the specific environmental conditions it will face. Each material and design offers unique benefits, so understanding these options will help you select the best brackets for your needs, ensuring both safety and style.
Choosing the Right Brackets for Your Window Box
It is important to choose the right brackets for your window box to guarantee both safety and good looks. To make an informed decision, consider several aspects, such as the brackets’ weight capacity, compatibility with different materials, and resilience to weather.
Weight Capacity:
One of the primary considerations is the weight capacity of the brackets. According to sources like ByRetreat and This Old House, it’s essential to choose brackets that can support the total weight of the window box, including the box material, soil, water, and plants.
For instance, a wooden window box filled with wet soil and lush plants can be quite heavy, requiring sturdy brackets such as those made from solid metal that can handle the load without bending or breaking.
Material Compatibility:
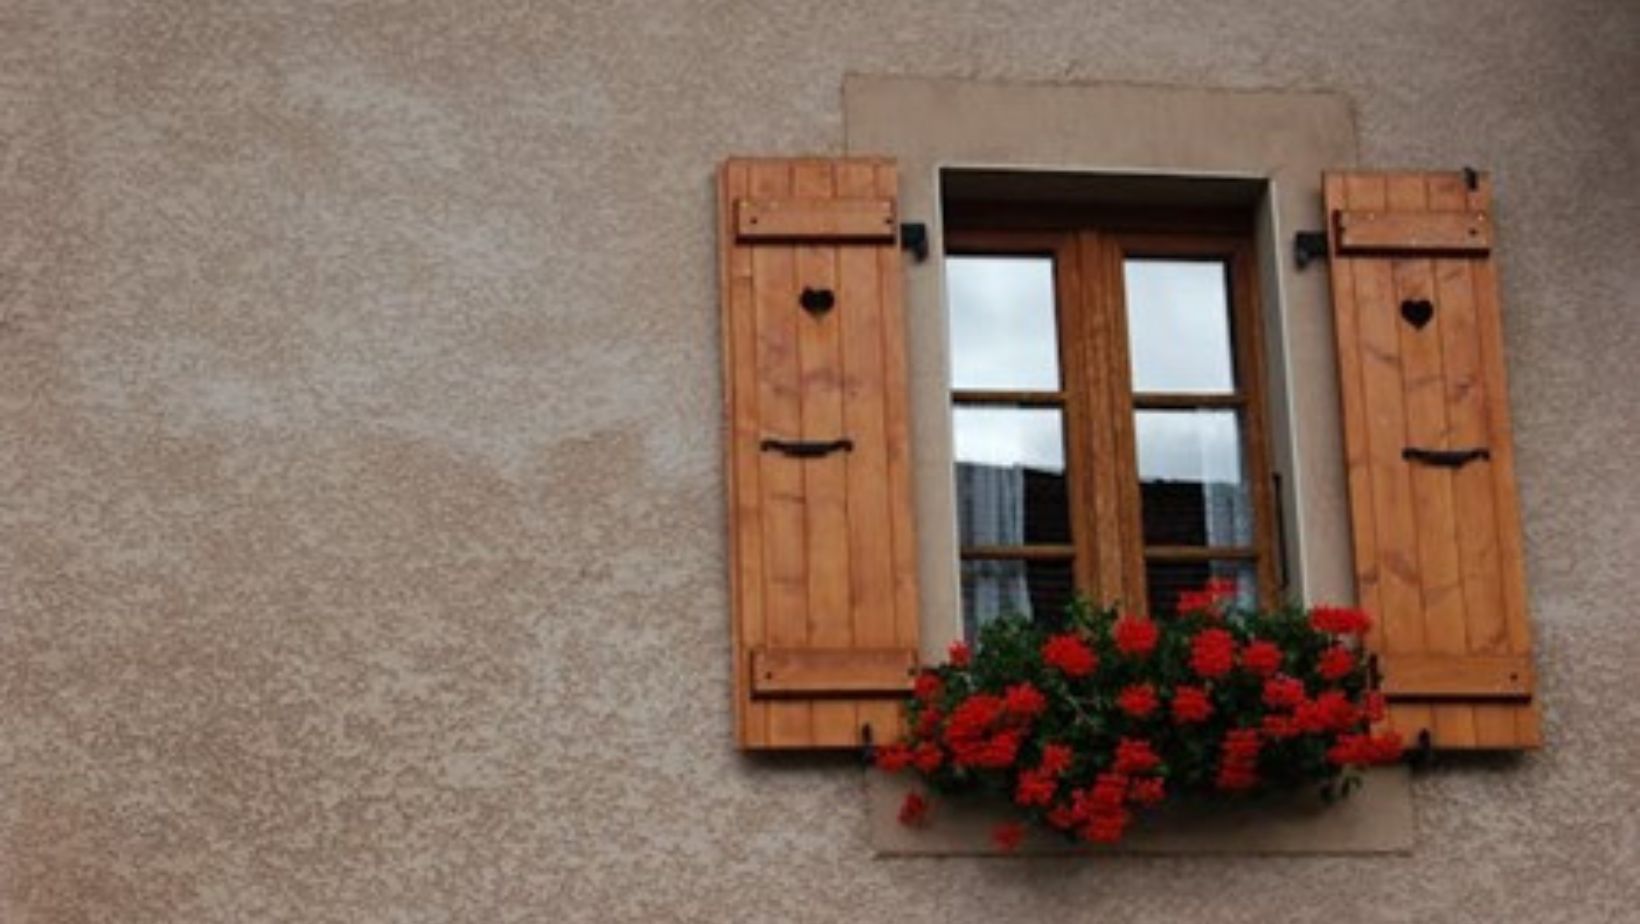
The bracket’s material should complement the window box’s material not only for aesthetic reasons but also for functional compatibility. For example, a wooden window box might look best with wrought iron brackets with a rustic charm, while a modern resin box might pair better with sleek stainless steel or aluminum brackets. The compatibility extends beyond looks; using non-corrosive materials like stainless steel or coated metals is vital when pairing with wood to prevent damage from moisture.
Weather Resistance:
Choosing weather-resistant brackets is also crucial, especially in environments exposed to harsh weather conditions. Brackets treated for weather resistance, such as those with a powder coating or made from naturally rust-resistant materials like aluminum, will ensure long-term durability and maintain their appearance over time. This is particularly important as exposure to elements like rain, snow, and extreme temperatures can cause less durable materials to degrade.
Aesthetic Harmony:
Lastly, it’s important to consider how the brackets will look with both the window box and the home’s exterior design. The right brackets should seamlessly blend with or enhance your home’s style. Whether you opt for ornate patterns that echo traditional architectural details or clean lines that complement a more contemporary façade, the brackets should integrate well with your home aesthetics.
Considering these factors, you can choose brackets that not only support your window boxes safely but also enhance the overall charm and value of your home.
Installation Tips
Proper installation of window box brackets is essential to ensure they are both level and securely attached to your home’s exterior. Here’s a step-by-step guide based on expert advice from This Old House that outlines the key steps and the tools needed to achieve a successful installation.
Step 1: Gather Your Tools and Materials
Before beginning the installation, ensure you have all the necessary tools and hardware. You will need:
- A drill with appropriate drill bits
- Screws and anchors suitable for your home’s exterior (wood, brick, or siding)
- A level
- A tape measure
- A pencil for marking
- Safety goggles and gloves
Step 2: Mark the Placement
Measure the length of your window box to determine the placement of the brackets. For even support, it’s typically recommended to place brackets about a quarter of the way in from each end of the box. Use a tape measure to find the exact spots on your wall and mark them lightly with a pencil.
Step 3: Level and Align
Place the first bracket against the wall at your marked spot. To make sure the bracket is horizontal, use a level. This step is crucial as it determines the box’s balance and overall appearance. Once level, mark the screw holes with your pencil.
Step 4: Drill Pilot Holes
Using a drill, create pilot holes at your marked points. Make sure your drill bit is the right size for the screws and wall material you are using. If drilling into masonry or concrete, use a masonry bit and insert wall anchors to secure the screws.
Step 5: Attach the Brackets
After positioning the bracket above the pilot holes, fasten it fi mly with screws.
Make sure the bracket is securely fastened by tightening the screws, but take care not to overtighten and harm the bracket or wall.
Step 6: Check for Stability
Once all brackets are installed, gently tug them to ensure they are securely attached. Any movement may require further tightening or additional anchors.
Step 7: Place the Window Box
Finally, place your window box onto the brackets and secure it, if necessary, with additional screws or ties to prevent any shifting.
Styling Your Window Boxes
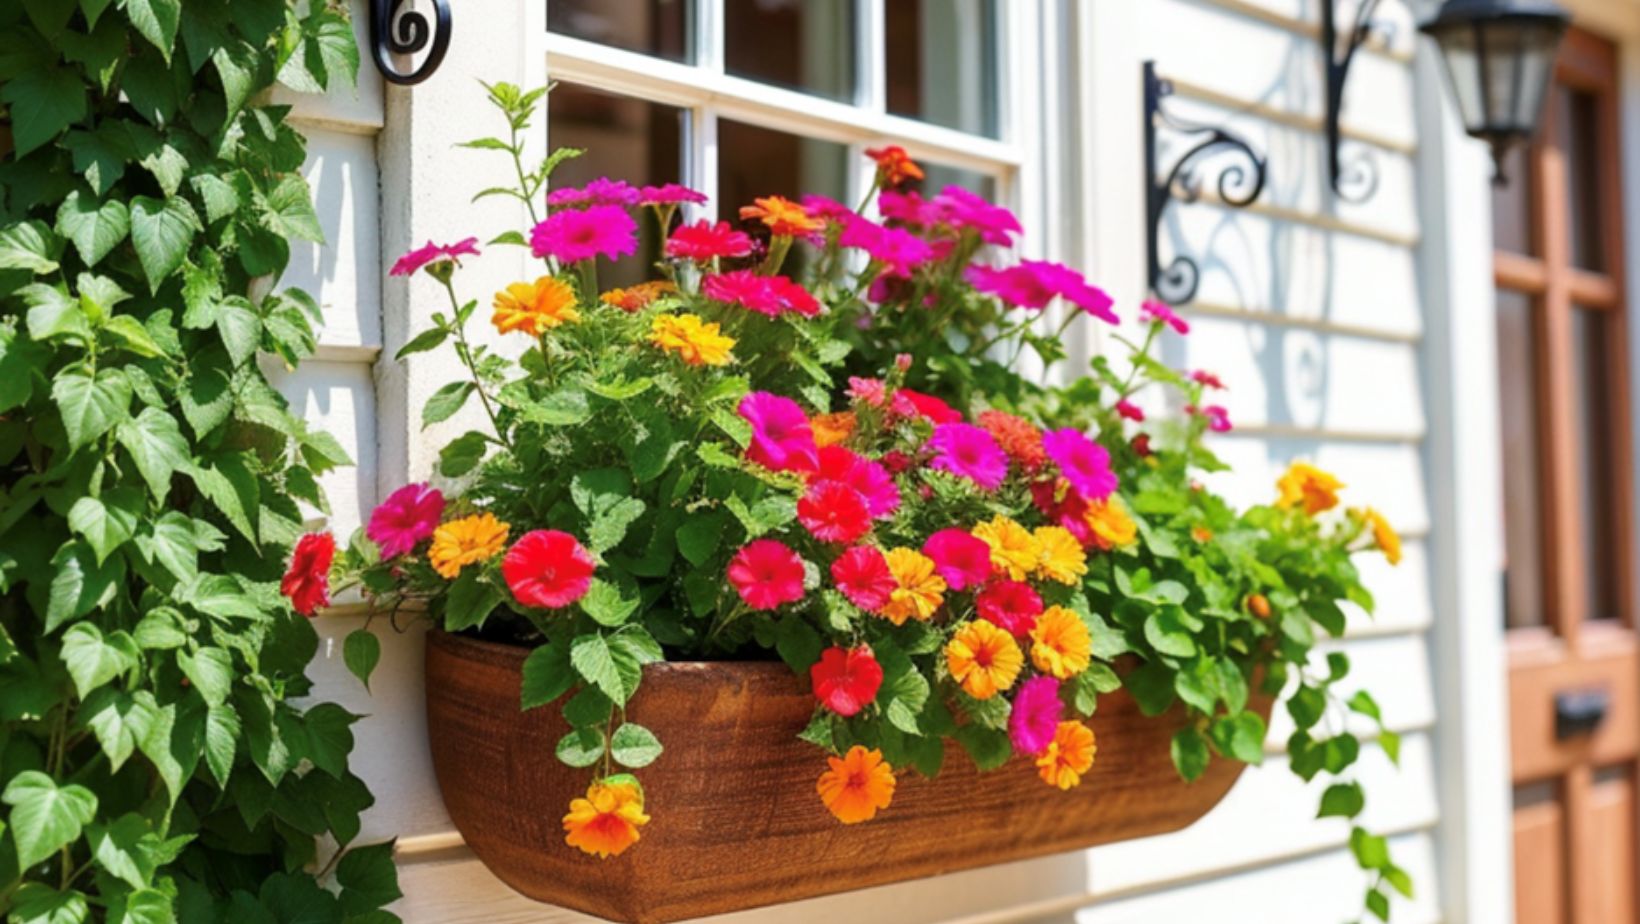
Choosing the right brackets for your window boxes is not just about functionality—it’s also about enhancing the overall aesthetic of your home. According to Garden Savvy, selecting brackets that complement your home’s architectural style is important. For instance, ornate, scrolled brackets can add a touch of elegance to a Victorian-style home, while sleek, simple lines are a perfect match for modern architecture. This thoughtful pairing ensures that the brackets are not merely functional but are integral to your home’s curb appeal.
Beyond matching the home’s architecture, consider how your window boxes and brackets can integrate with the roader landscaping theme. If your garden features a lot of wrought iron or metalwork, choosing similar materials for your brackets can create a cohesive look. Alternatively, if your landscaping is more rustic, wooden brackets stained to match fencing or trellises can tie the elements together beautifully.
Using the bracket style as a decorative element allows you to expand the visual impact of your window boxes. For example, if you have a nautical theme in your coastal home, you might choose brackets that mimic the curves of waves or are fashioned from materials that withstand harsh, salty air. This approach secures your window boxes safely and enhances the thematic storytelling of your home’s exterior design.
Conclusion
Choosing and installing the right mounting brackets for your window boxes is a crucial decision impacting your home’s style and safety. This process requires careful consideration of aesthetic preferences and practical requirements to effectively enhance your home’s curb appeal. By focusing on the blend of style and safety, you can ensure that your window boxes look great and are a secure and lasting addition to your home’s exterior. Encourage ongoing maintenance and regular safety checks to keep your installations in optimal condition and enjoy the beauty they bring to your home safely.