Filters and effects are essential for improving video quality. They can easily turn ordinary footage into something that looks professional. For instance, you can create a more engaging visual experience by tweaking colors and adjusting brightness. Moreover, CapCut desktop video editor is a leading video editing software that offers a wide range of filters and effects to help you achieve stunning results.
With its user-friendly interface, applying these enhancements becomes a simple task. Although CapCut provides many features for free, some advanced options require payment. Therefore, it’s worth exploring what this software has to offer. In conclusion, using filters and effects can truly elevate your videos. Read the complete blog to learn more about how to make the most of these tools!
Why Use Filters and Effects to Enhance Video Quality?
Using filters and effects in video editing enhances overall quality and appeal. Here’s why they matter:
• Enhances Visual Appeal: Filters improve color grading and lighting, creating stunning visuals. Effects add drama or vibrancy, making content pop.
• Sets the Right Mood: Filters help establish the video’s tone. Warm tones evoke nostalgia, while cool tones offer a modern feel.
• Customizable Options:Video editing software like CapCut provides various filters and effects to match themes and styles.
• Optimized for Different Platforms: Adjust your video’s look to include YouTube, TikTok, or Instagram.
• Saves Time with Built-in Features: Use CapCut’s tools like the AI caption generator and video background remover for efficient video creation.
• Leverages Advanced Features: Combine filters and effects with tools like the video background remover to create engaging visuals without distractions.
Incorporating these elements improves aesthetics and enhances storytelling, making videos more engaging.
Steps to Apply Filters and Effects on CapCut Desktop Video Editor
1. Install CapCut Desktop Video Editor
To get started with CapCut Desktop Video Editor, first, head to the official CapCut website. You will find the download button; click it to download the installer. After finishing the download, open your downloads folder, locate the file, and double-click to start installing.

Next, follow the on-screen instructions to set up the software on your computer. Once installed, you will need to sign up or log in. Remember, while some features are free, access to advanced tools may require payment. Now, you are ready to create and edit your videos!
2. Import Your Video
First, launch the CapCut desktop video editor. Then, click “Import” to upload your video from your computer. After that, make sure the video shows up correctly in the timeline. This step is important for a smooth editing process.

Fortunately, the CapCut desktop video editor allows you to easily manage your files by dragging and dropping videos into the workspace. Once your video is loaded, you can start editing without delay. Additionally, the user-friendly interface helps you find the tools you need quickly. So, dive in and enjoy creating your project with ease!
3. Use Filters and Effects Alongside the AI Caption Generator
To enhance your video using the CapCut desktop video editor, follow these steps:
• Open the Filter options: Go to the “Filters” tab in the right panel. Explore categories like cinematic, vintage, or monochrome.
• Customization: Adjust filter intensity with a slider. Combine filters for unique effects.
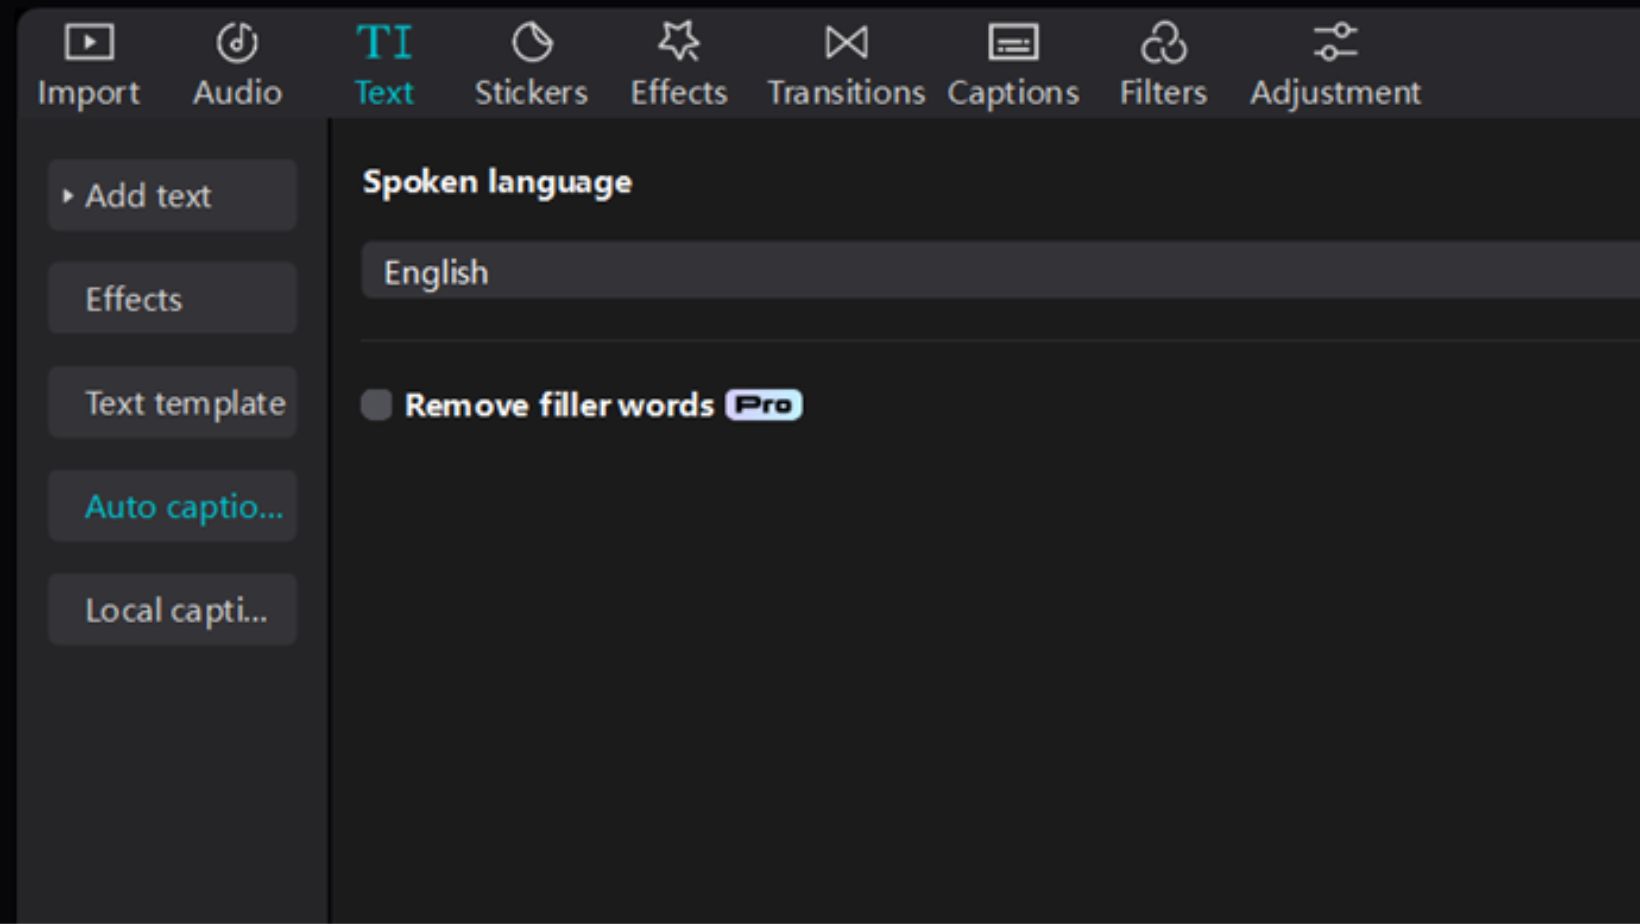
• Enhance with AI Tools: Use the AI caption generator to add synchronized captions, making your video accessible to all viewers.
• Preview Changes: Check how filters and captions improve your video in real time before finalizing.

These features allow you to create engaging content that stands out. Enjoy experimenting with different combinations to find what works best for your project!
4. Combine Effects with the Video Background Remover
Begin by opening the Effects panel in your editing tool. You can explore categories like glitches, sparkles, or transitions. When you find an effect that catches your eye, drag and drop it onto your timeline. Alter the duration and intensity to fit the style of your video.
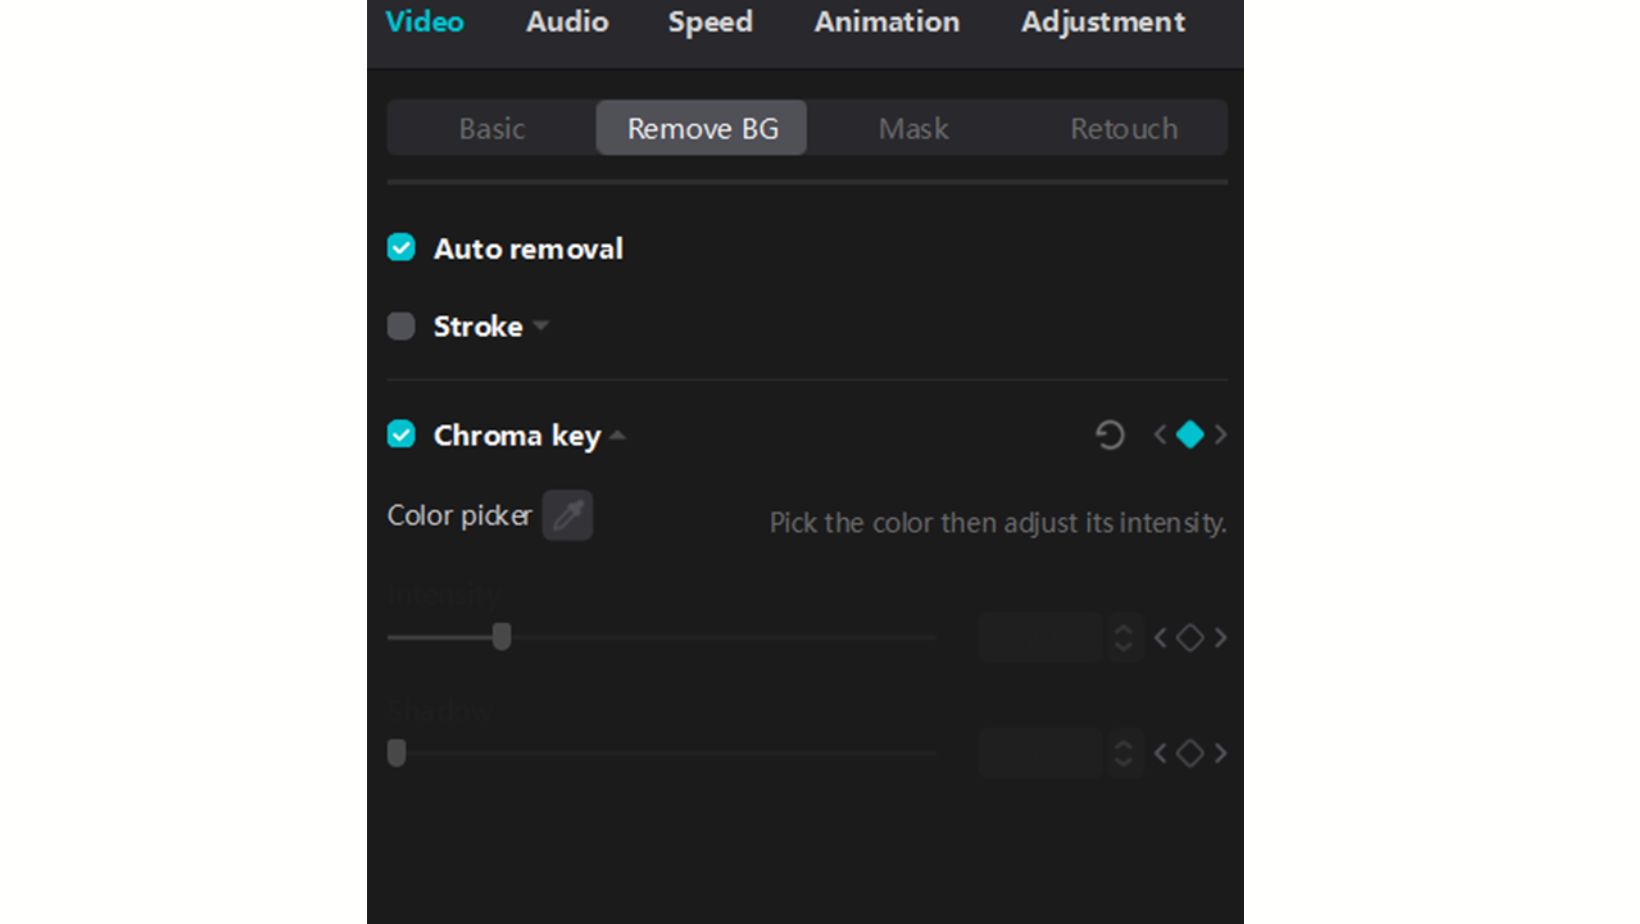
Next, use the video background remover to eliminate distracting elements in your clips. This tool replaces the background with a solid color, image, or video.

Finally, check how everything looks by previewing your changes in real-time. This helps you see the final result and make any adjustments needed. Enjoy making a clean and engaging video that highlights your main subject!
5. Export and Share
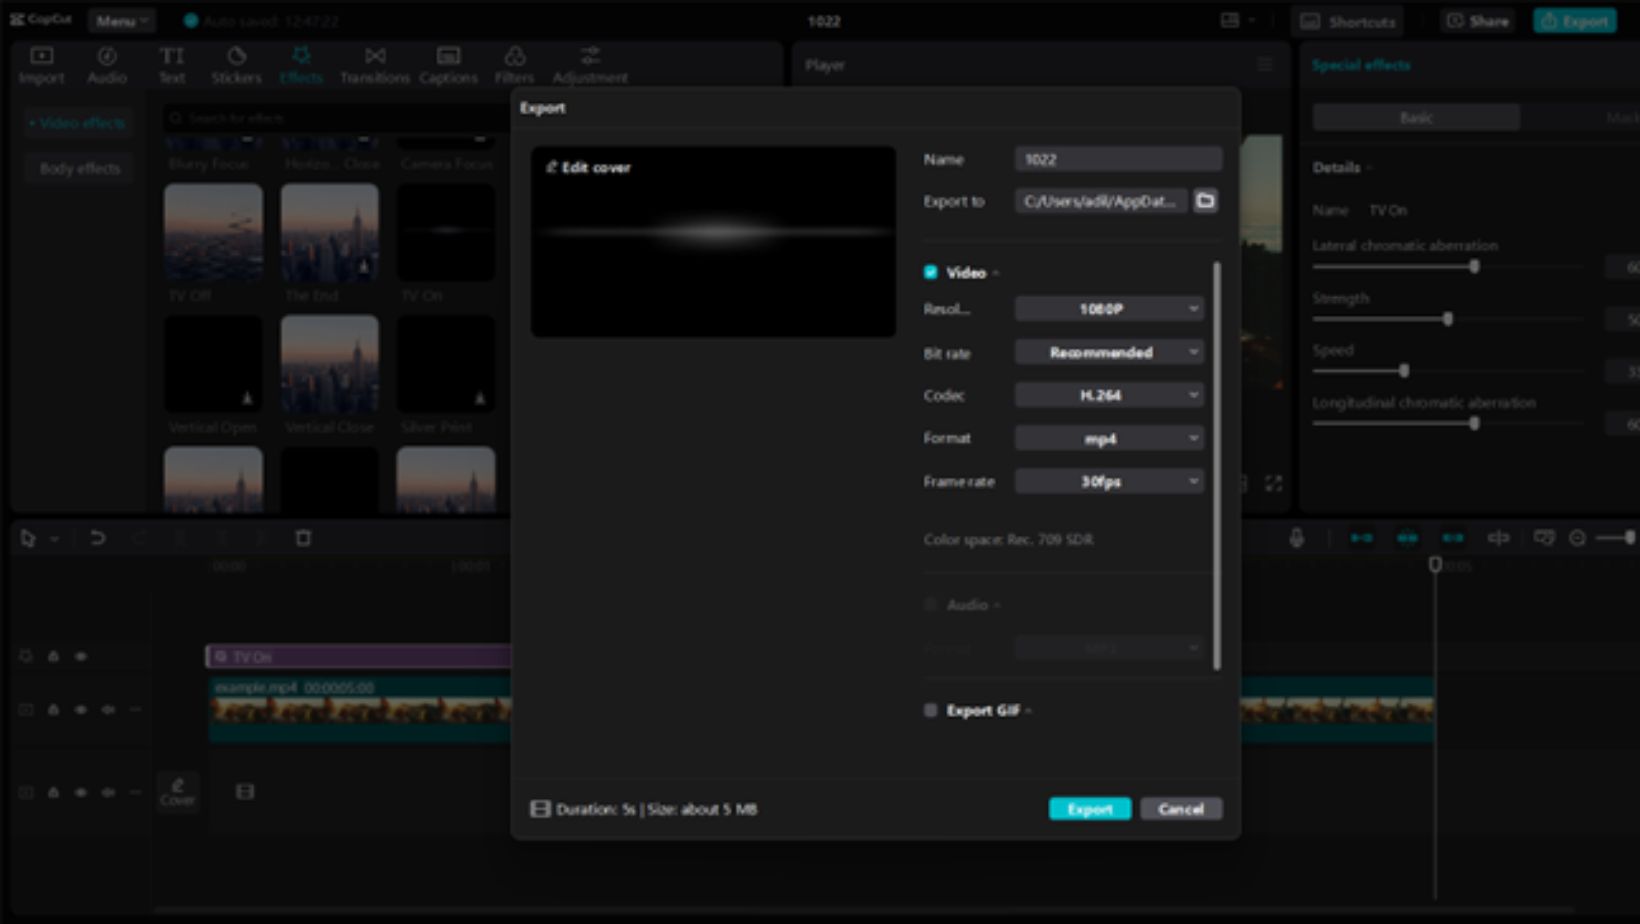
To export your video, select the resolution, format, and frame rate that best suits your needs. This choice is crucial for ensuring that your video looks its best. Once you have made these selections, think about how you want to share your creation with others. You have two main options: you can save the video to your device for future use, or you can upload it directly to popular platforms like Instagram, TikTok, or YouTube.

If you choose to upload, simply follow the easy steps provided by each platform. This process is often straightforward and user-friendly. Moreover, sharing your video online allows you to connect with a wider audience and receive feedback on your work. Ultimately, these options allow you to showcase your creativity in a way that fits your style. Enjoy sharing your unique vision with the world!
Wrapping Up
Filters and effects can completely transform video quality, making your visuals stand out. With CapCut desktop video editor, you can access many tools that help you achieve impressive results. Moreover, features like the AI caption generator and video background remover can enhance your editing experience. While many of these tools are free, remember that some advanced filters and effects may come at a cost. Overall, try CapCut for your next video project to create professional-quality content with ease.


