Edits to social media, reels, or short vertical videos can be problematic. Creating such videos professionally but still engaging, is challenging for most creators. Vertical videos are gaining popularity, but processing them in an effective way needs the right tools.
CapCut Desktop Video Editor makes this easy and quick for both beginners and pro editors. With its easy-to-use properties, you are able to crop, trim, add text, effects, and music without hassle.
In this tutorial, we will explain why CapCut PC is best for vertical videos and walk you step by step on how to edit them effortlessly and speedily.
Why CapCut PC is Great for Editing Vertical Videos
Vertical video editing needs tools that help you resize, trim, insert text, and insert overlays that support mobile screens. CapCut Desktop Video Editor offers all these in one platform. You can start with pre-designed templates specifically designed for vertical videos, which makes it easier to create content.
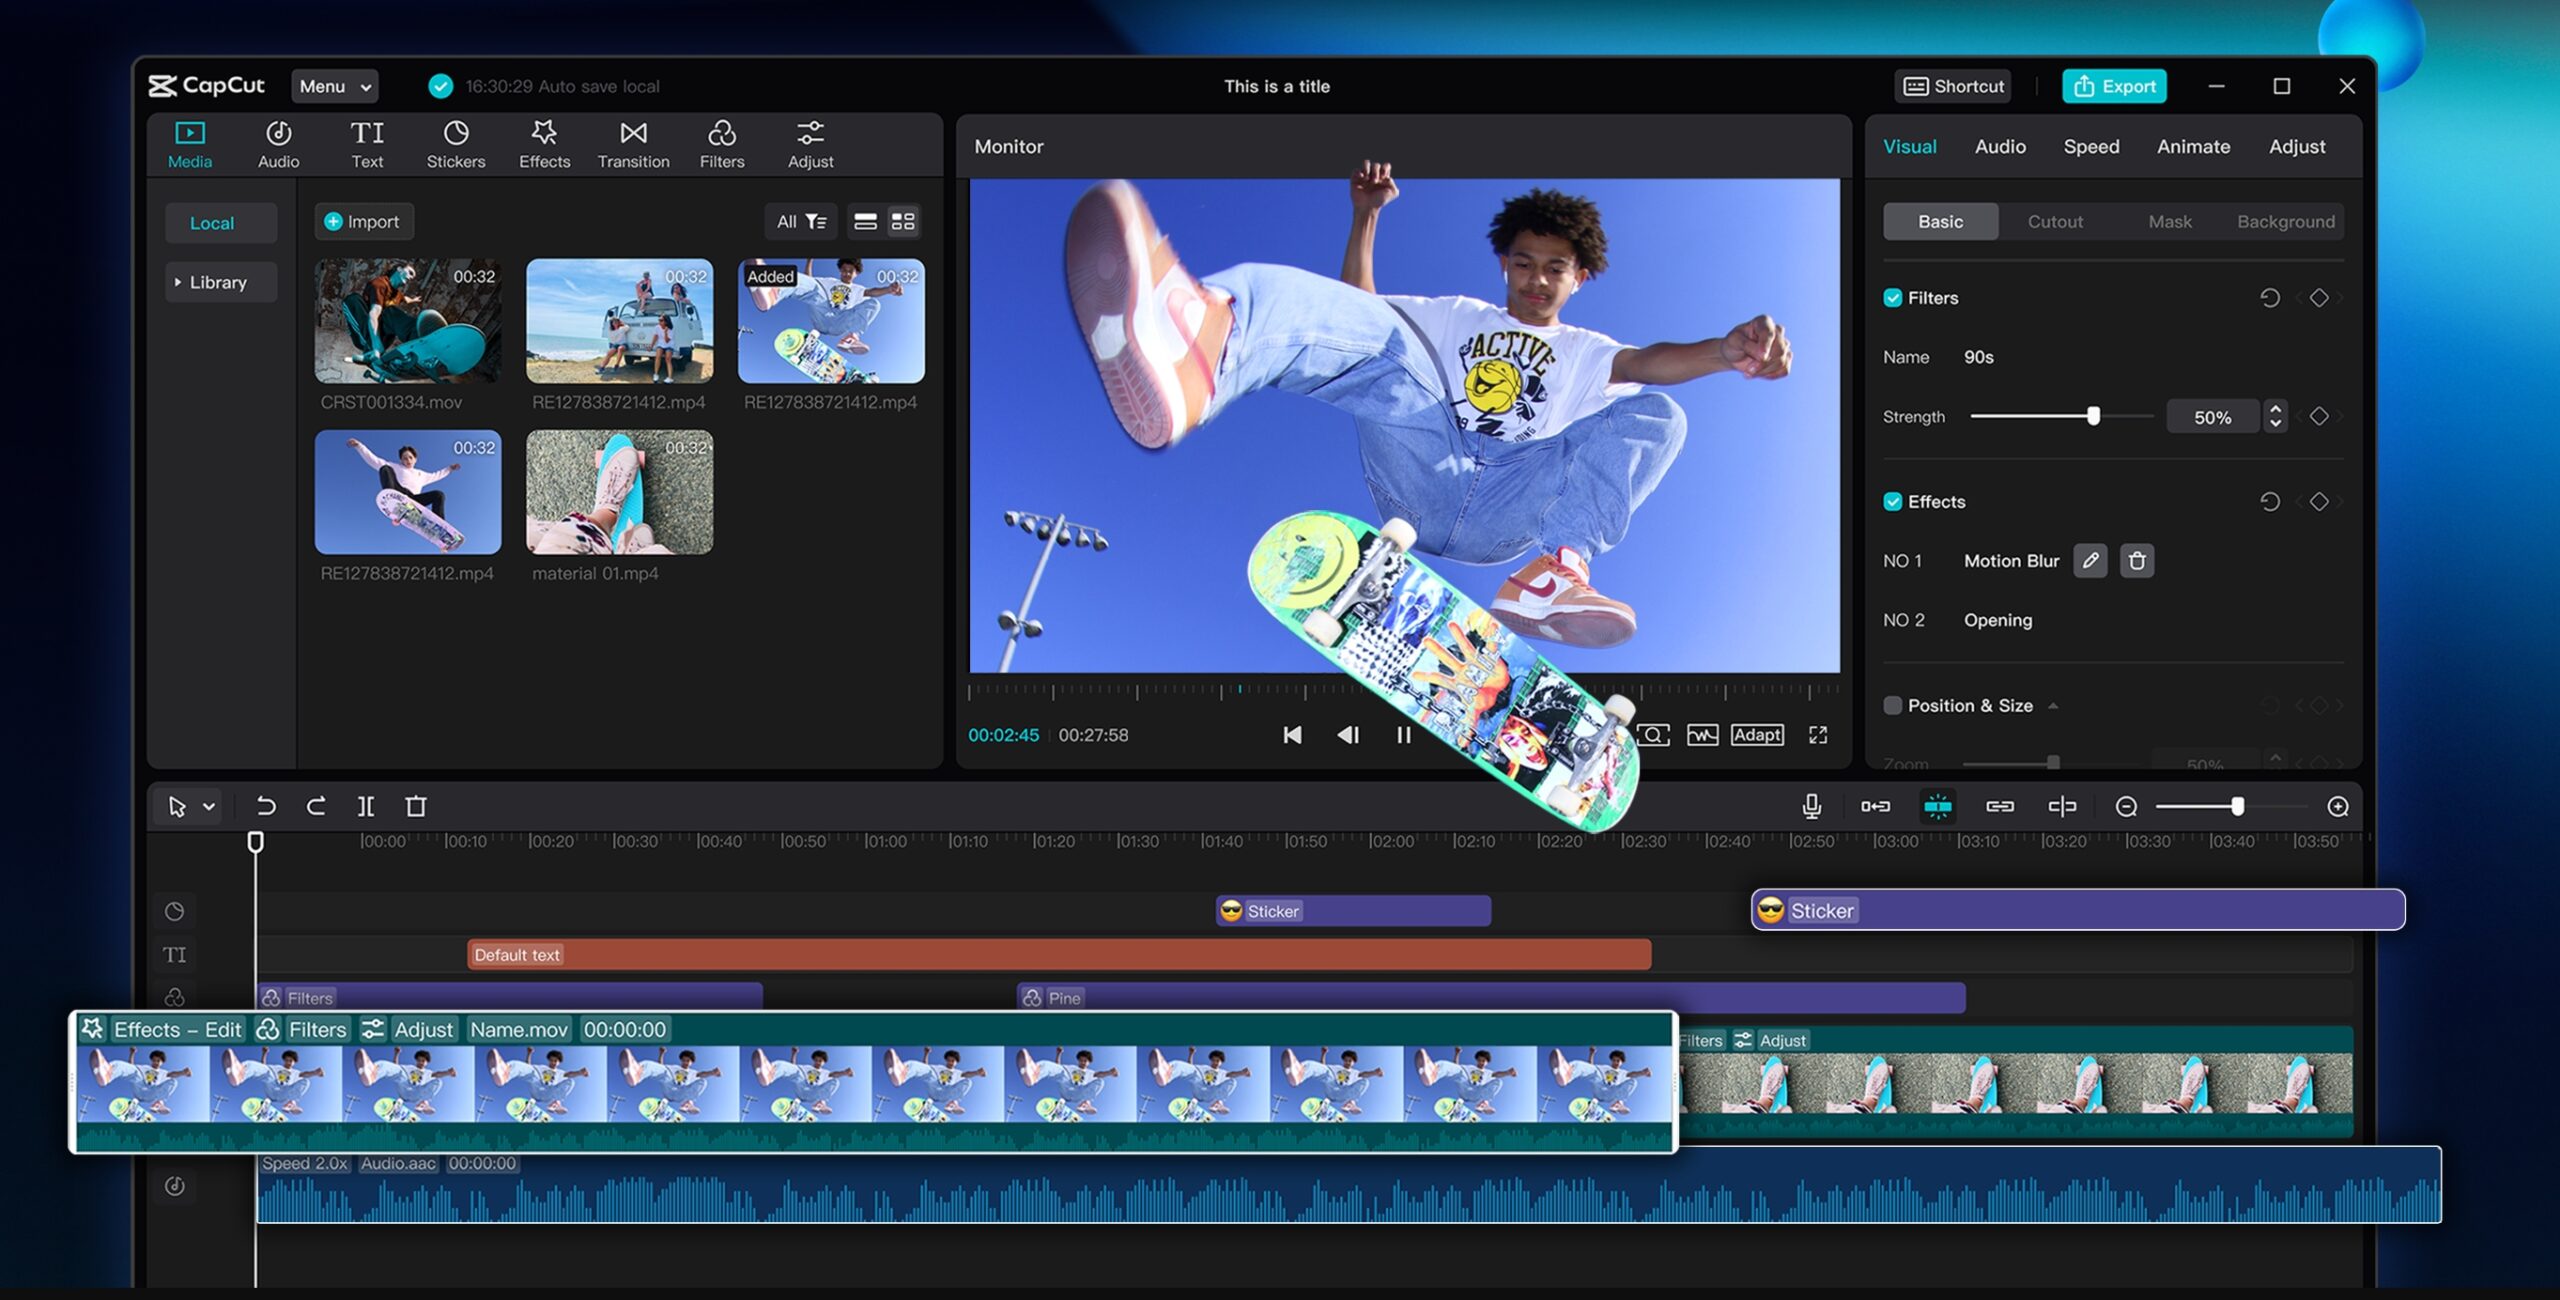
Inserting text, stickers, and effects is easy, and everything accommodates well in the vertical frame. The timeline is continuous, and it is easy to clip with drag-and-drop functionality.
A few of the advanced features, like AI effects or top-class templates, have to be purchased, but the basic tools are enough to produce professional videos. CapCut PC is convenient for content creators and social media promoters as it helps you do more in less time.
It is also ideal for new users as the platform is clean and easy to navigate, and it provides professional editors with full control over each clip.
While CapCut Desktop Video Editor is designed for video editing, it also integrates with other tools, such as a photo editor. This feature helps you alter images, add effects to pictures in your videos, or add custom graphics without leaving the software. These tools accelerate, simplify, and make vertical video editing easy for every creator.
Key Features for Vertical Video Editing in CapCut PC
CapCut Desktop Video Editor has features that simplify vertical video editing and make it easy. You can start your project using vertical video templates with the correct 9:16 ratio already established. This saves time and makes your video look amazing on small screens.
The text and subtitle features allow you to incorporate beautiful words or captions that are readable on small screens. You can also include effects and transitions to make the video more engaging and guide the viewer’s eye from one scene to the next.
The audio editing options enable you to add background sound or music based on your video. You can trim, edit, and sync audio right on the timeline. Resizing and cropping enable you to crop the frame of your video in such a manner that none of the essential component is lost and the vertical view is clear and to the point.
CapCut PC also includes AI features in some of its paid versions. AI features support auto-detection of the scene, auto-subtitles, or smart effects.
Some of these AI features work like an AI video generator that enables you to create interesting video clips dynamically without spending too much time on manual editing. These features enable the editing of vertical videos to be processed quickly, smoothly, and creatively for any creator.
Steps to Edit Vertical Videos with CapCut Desktop Video Editor
Step 1: Download and Install CapCut PC
Go to the official website and download CapCut Desktop Video Editor. The installation process is easy and is compatible with Windows or Mac. You are not required to sign up, but signing up makes all features and templates accessible.

Step 2: Import Vertical Video
Open CapCut PC and click the Import button to upload your vertical video. Make sure the video is 9:16 in aspect ratio, so that it displays correctly on social media screens.

Step 3: Trim, Crop, and Adjust
Utilize the timeline tools to trim out any section you won’t need. Crop or resize clips by clicking and dragging to have relevant material stay in the vertical frame. Adjust brightness, contrast, or color directly from the editing panel for a clear view.

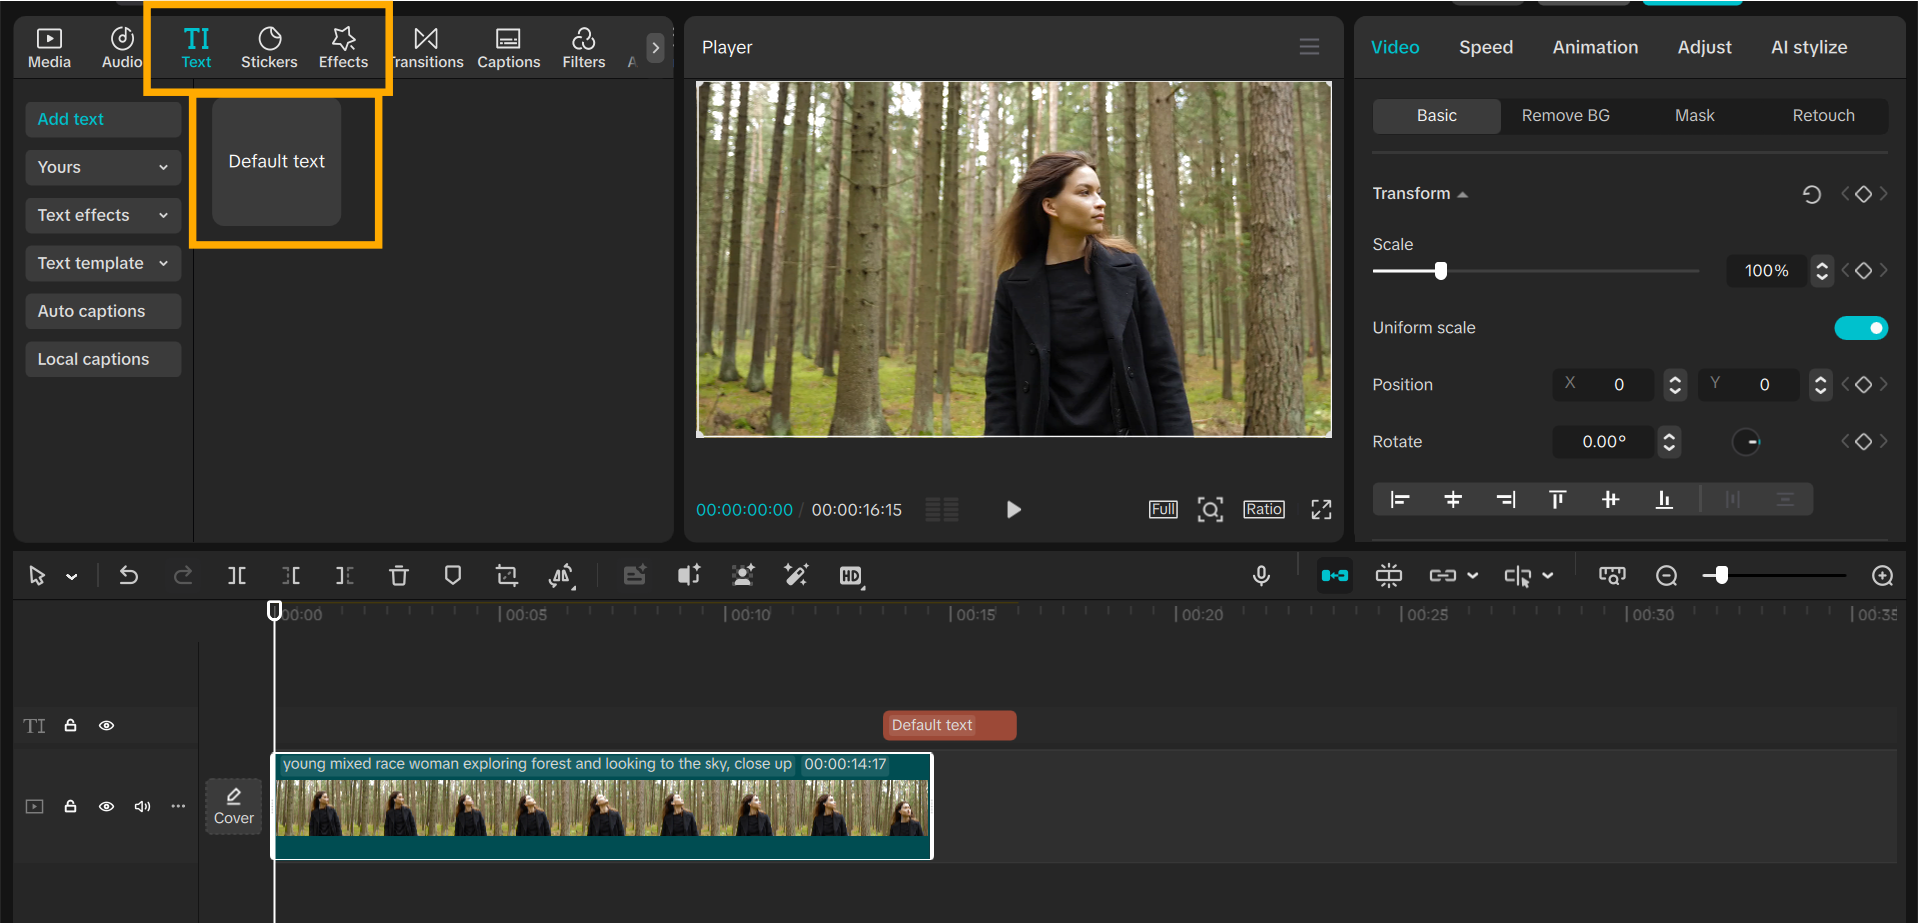
Step 4: Add Text, Effects, and Stickers
Select the Text tab to add subtitles or captions. Employ Effects and Stickers from the sidebar menu to decorate the video and make transitions smooth.
Step 5: Add Music or Voiceovers
Click on Audio to capture music or voiceovers within CapCut PC. Align the audio with your video clips using the timeline for smooth playback.

Step 6: Export and Share
Click Export to select resolution, frame rate, and format. Export the video to your phone or directly post on social media. Exporting may carry prices for extra features.

Conclusion
CapCut Desktop Video Editor streamlines and optimizes the editing of vertical videos. It offers you templates, text tools, effects, music, and cropping tools to help you create professional-looking videos. The advanced tools are paid for, although the basic tools are available for free and are adequate for most projects. CapCut also has an online video editor, which you can try for free!
Content creators can use CapCut PC to allow them to create top-class vertical content for social media, reels, or short videos with ease.
Experiment with different text styles, effects, and transitions to make your videos more interesting and clear. Install CapCut PC today from its official website and edit vertical videos quickly and efficiently for your audience.